USAF Veteran and DSU Summa Cum Laude graduate, seeking peace amidst the chaos. ἀρετή


My First PC Build
No More VMs Crashing My Party
May 30, 2025 · 615 words · 3 min read
Table of Contents
A little backstory
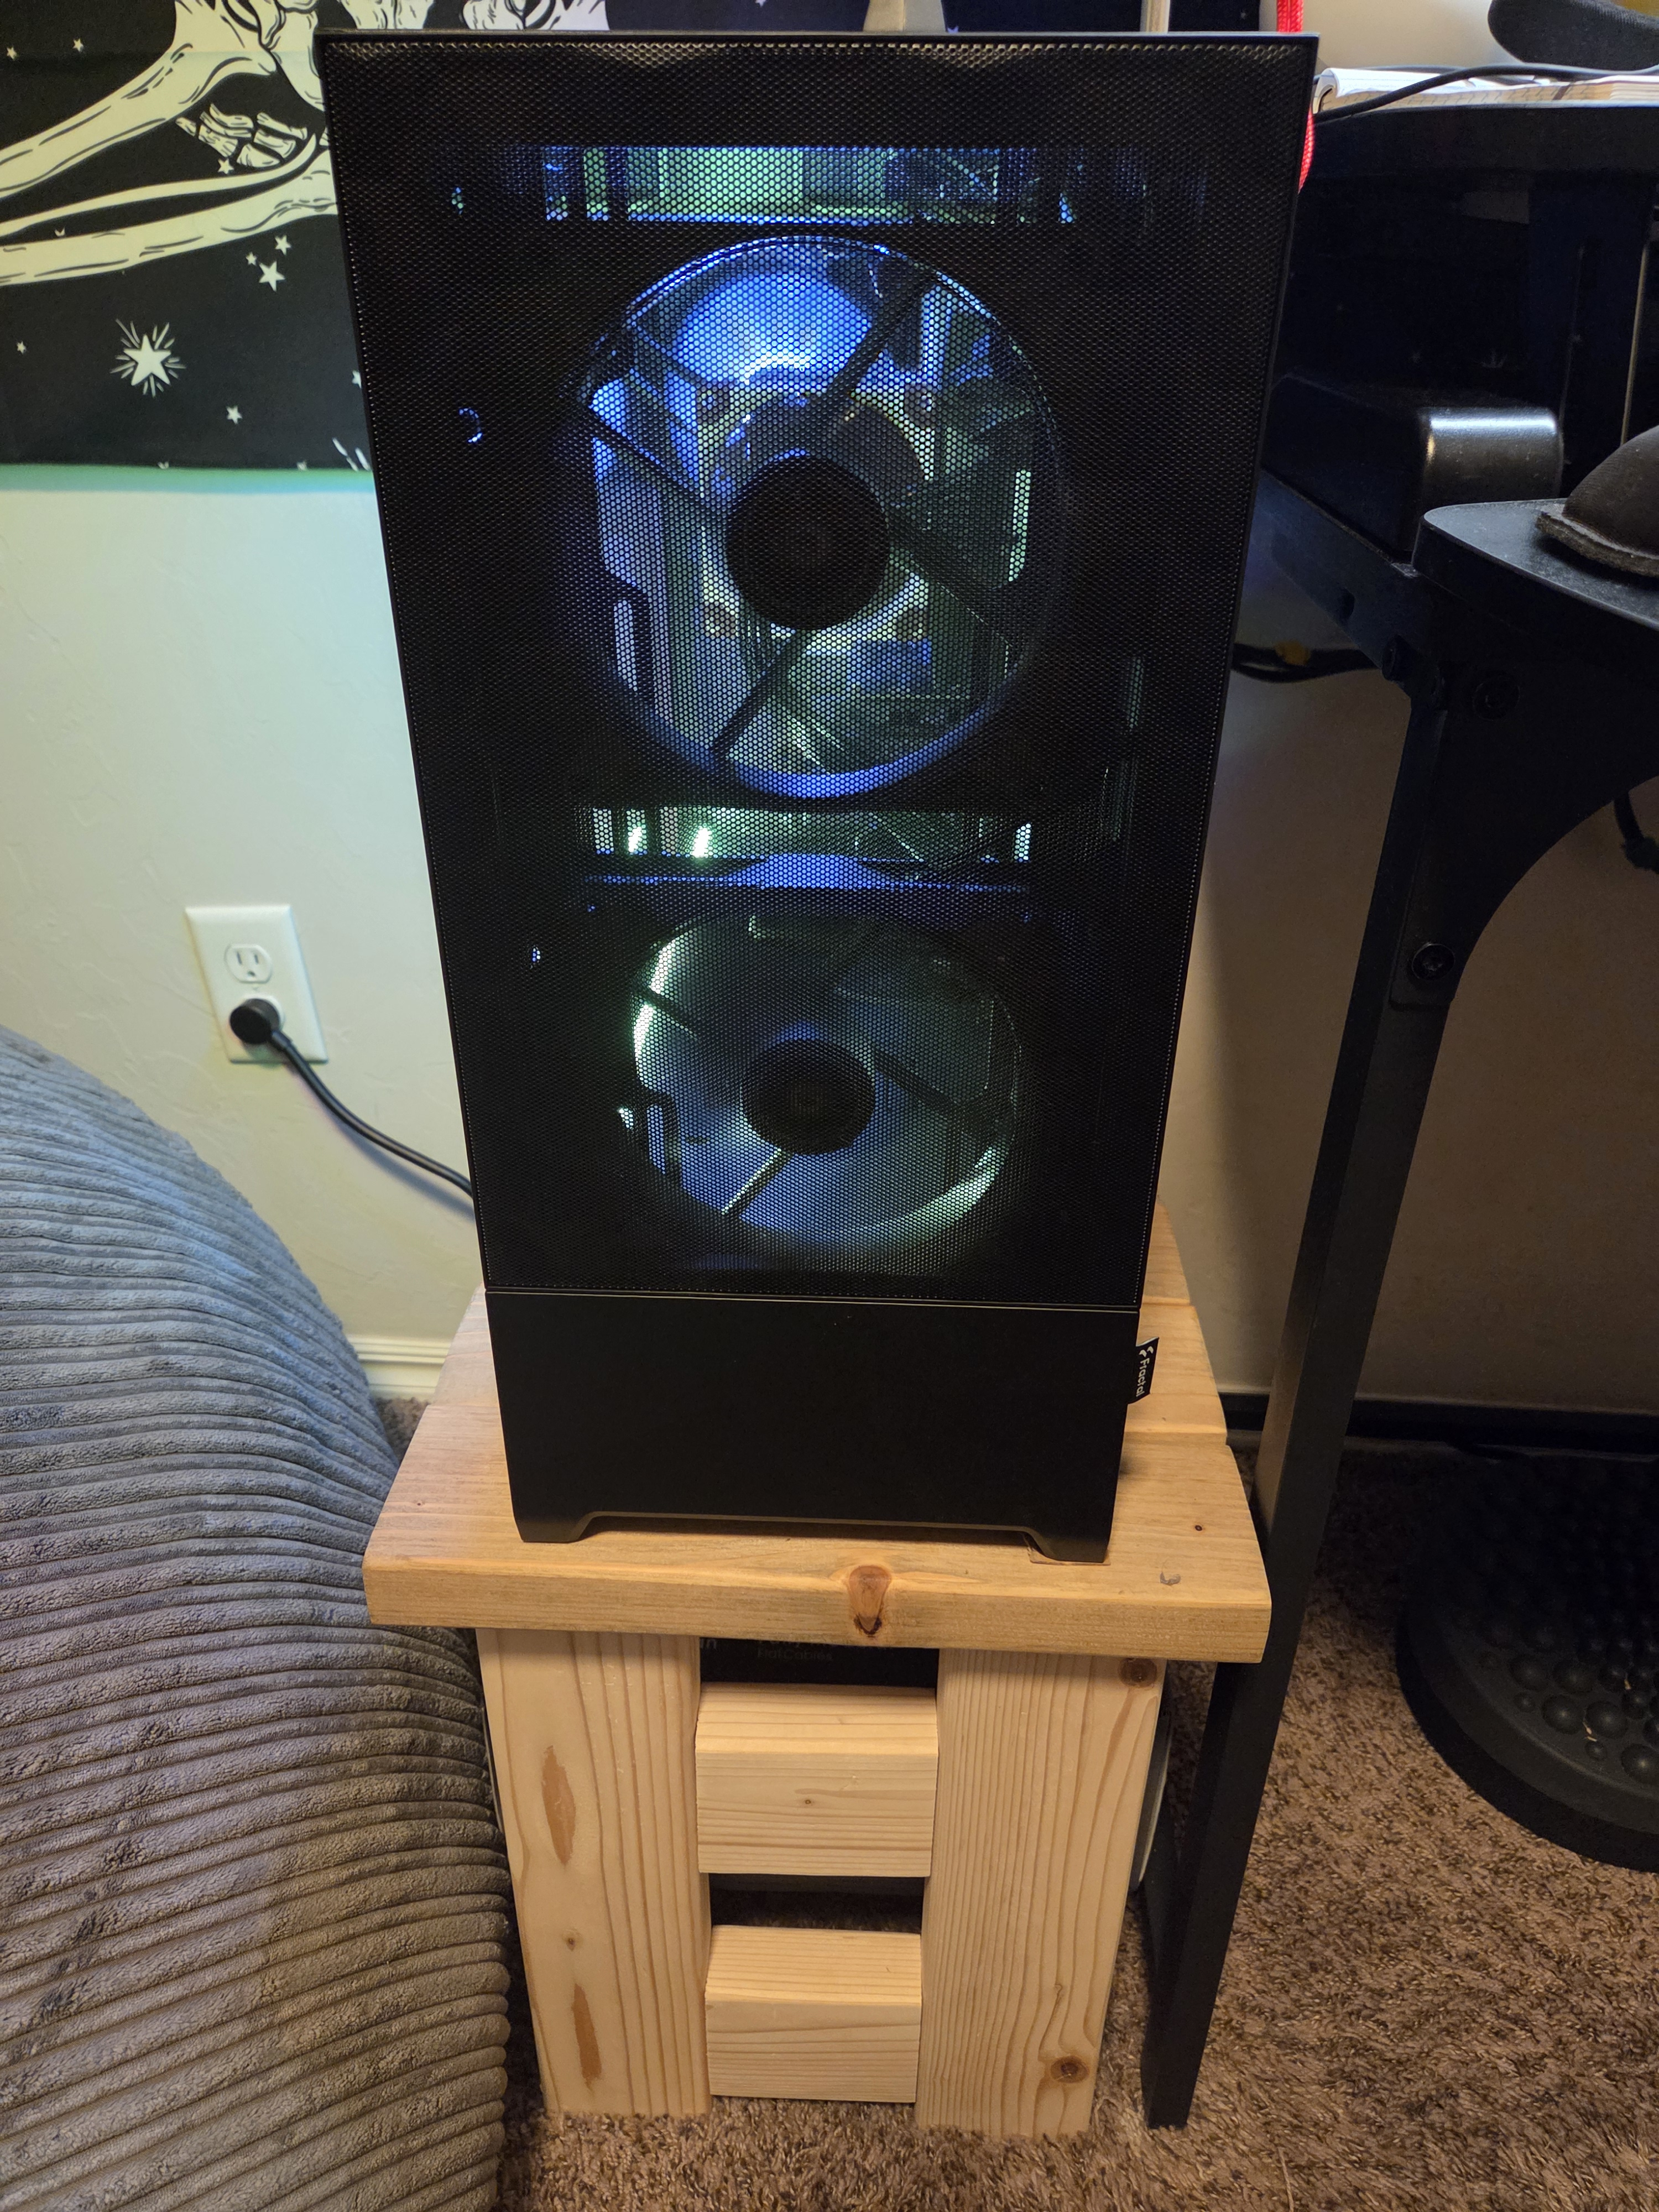
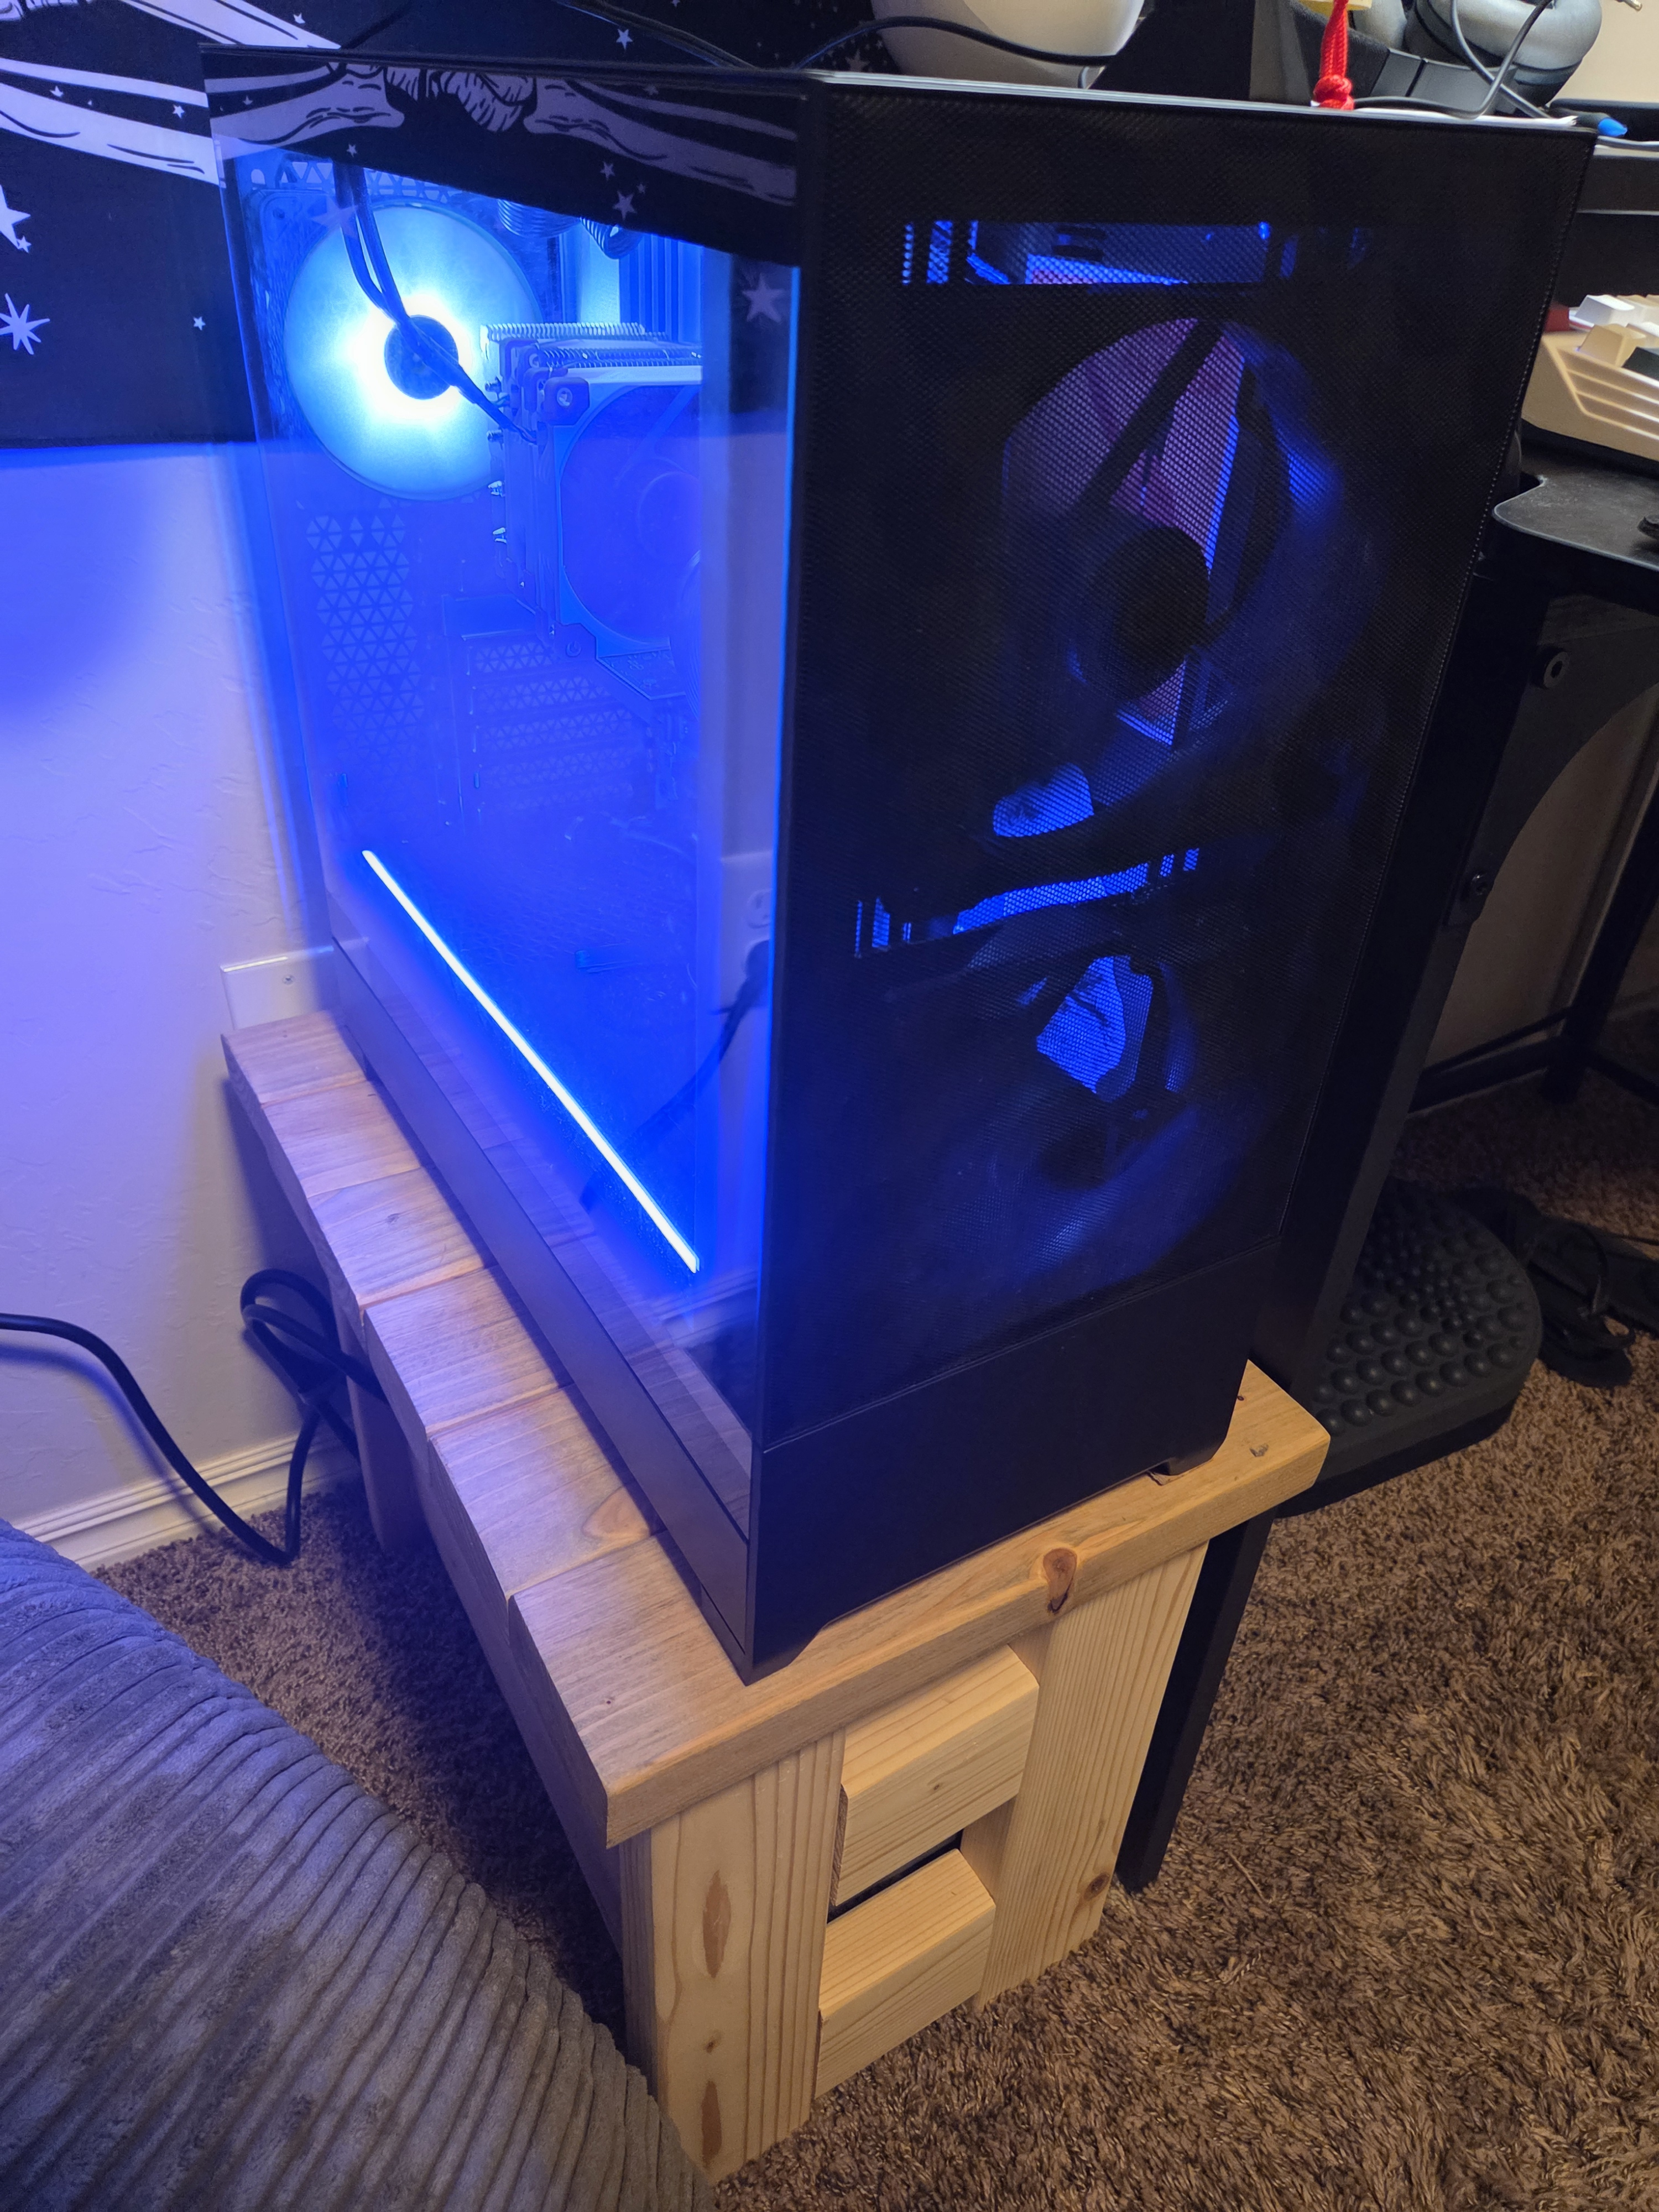
In the past, I’ve rarely encountered issues running resource-intensive programs on my laptop with 16 GB of RAM. Even then, I decided to switch from Windows to Linux, and I’ve been distro-hopping ever since. I optimized my laptop’s resources after noticing how resource-hungry Windows can be. I wanted more overhead in the event I was pushing my machine. So, although the crash that prompted me to visit PCPartPicker.com and take the plunge into building my PC was from the Practical Help Desk Course, it was really my fault for mismanaging my limited resources and having too many YouTube tabs open. I’ve always wanted to build one but didn’t want to foot the bill for a decent build with room for upgrades. I even made a custom wood table with spare 2x4s from my garage. I promise it isn’t ugly, lol.
Picking Parts
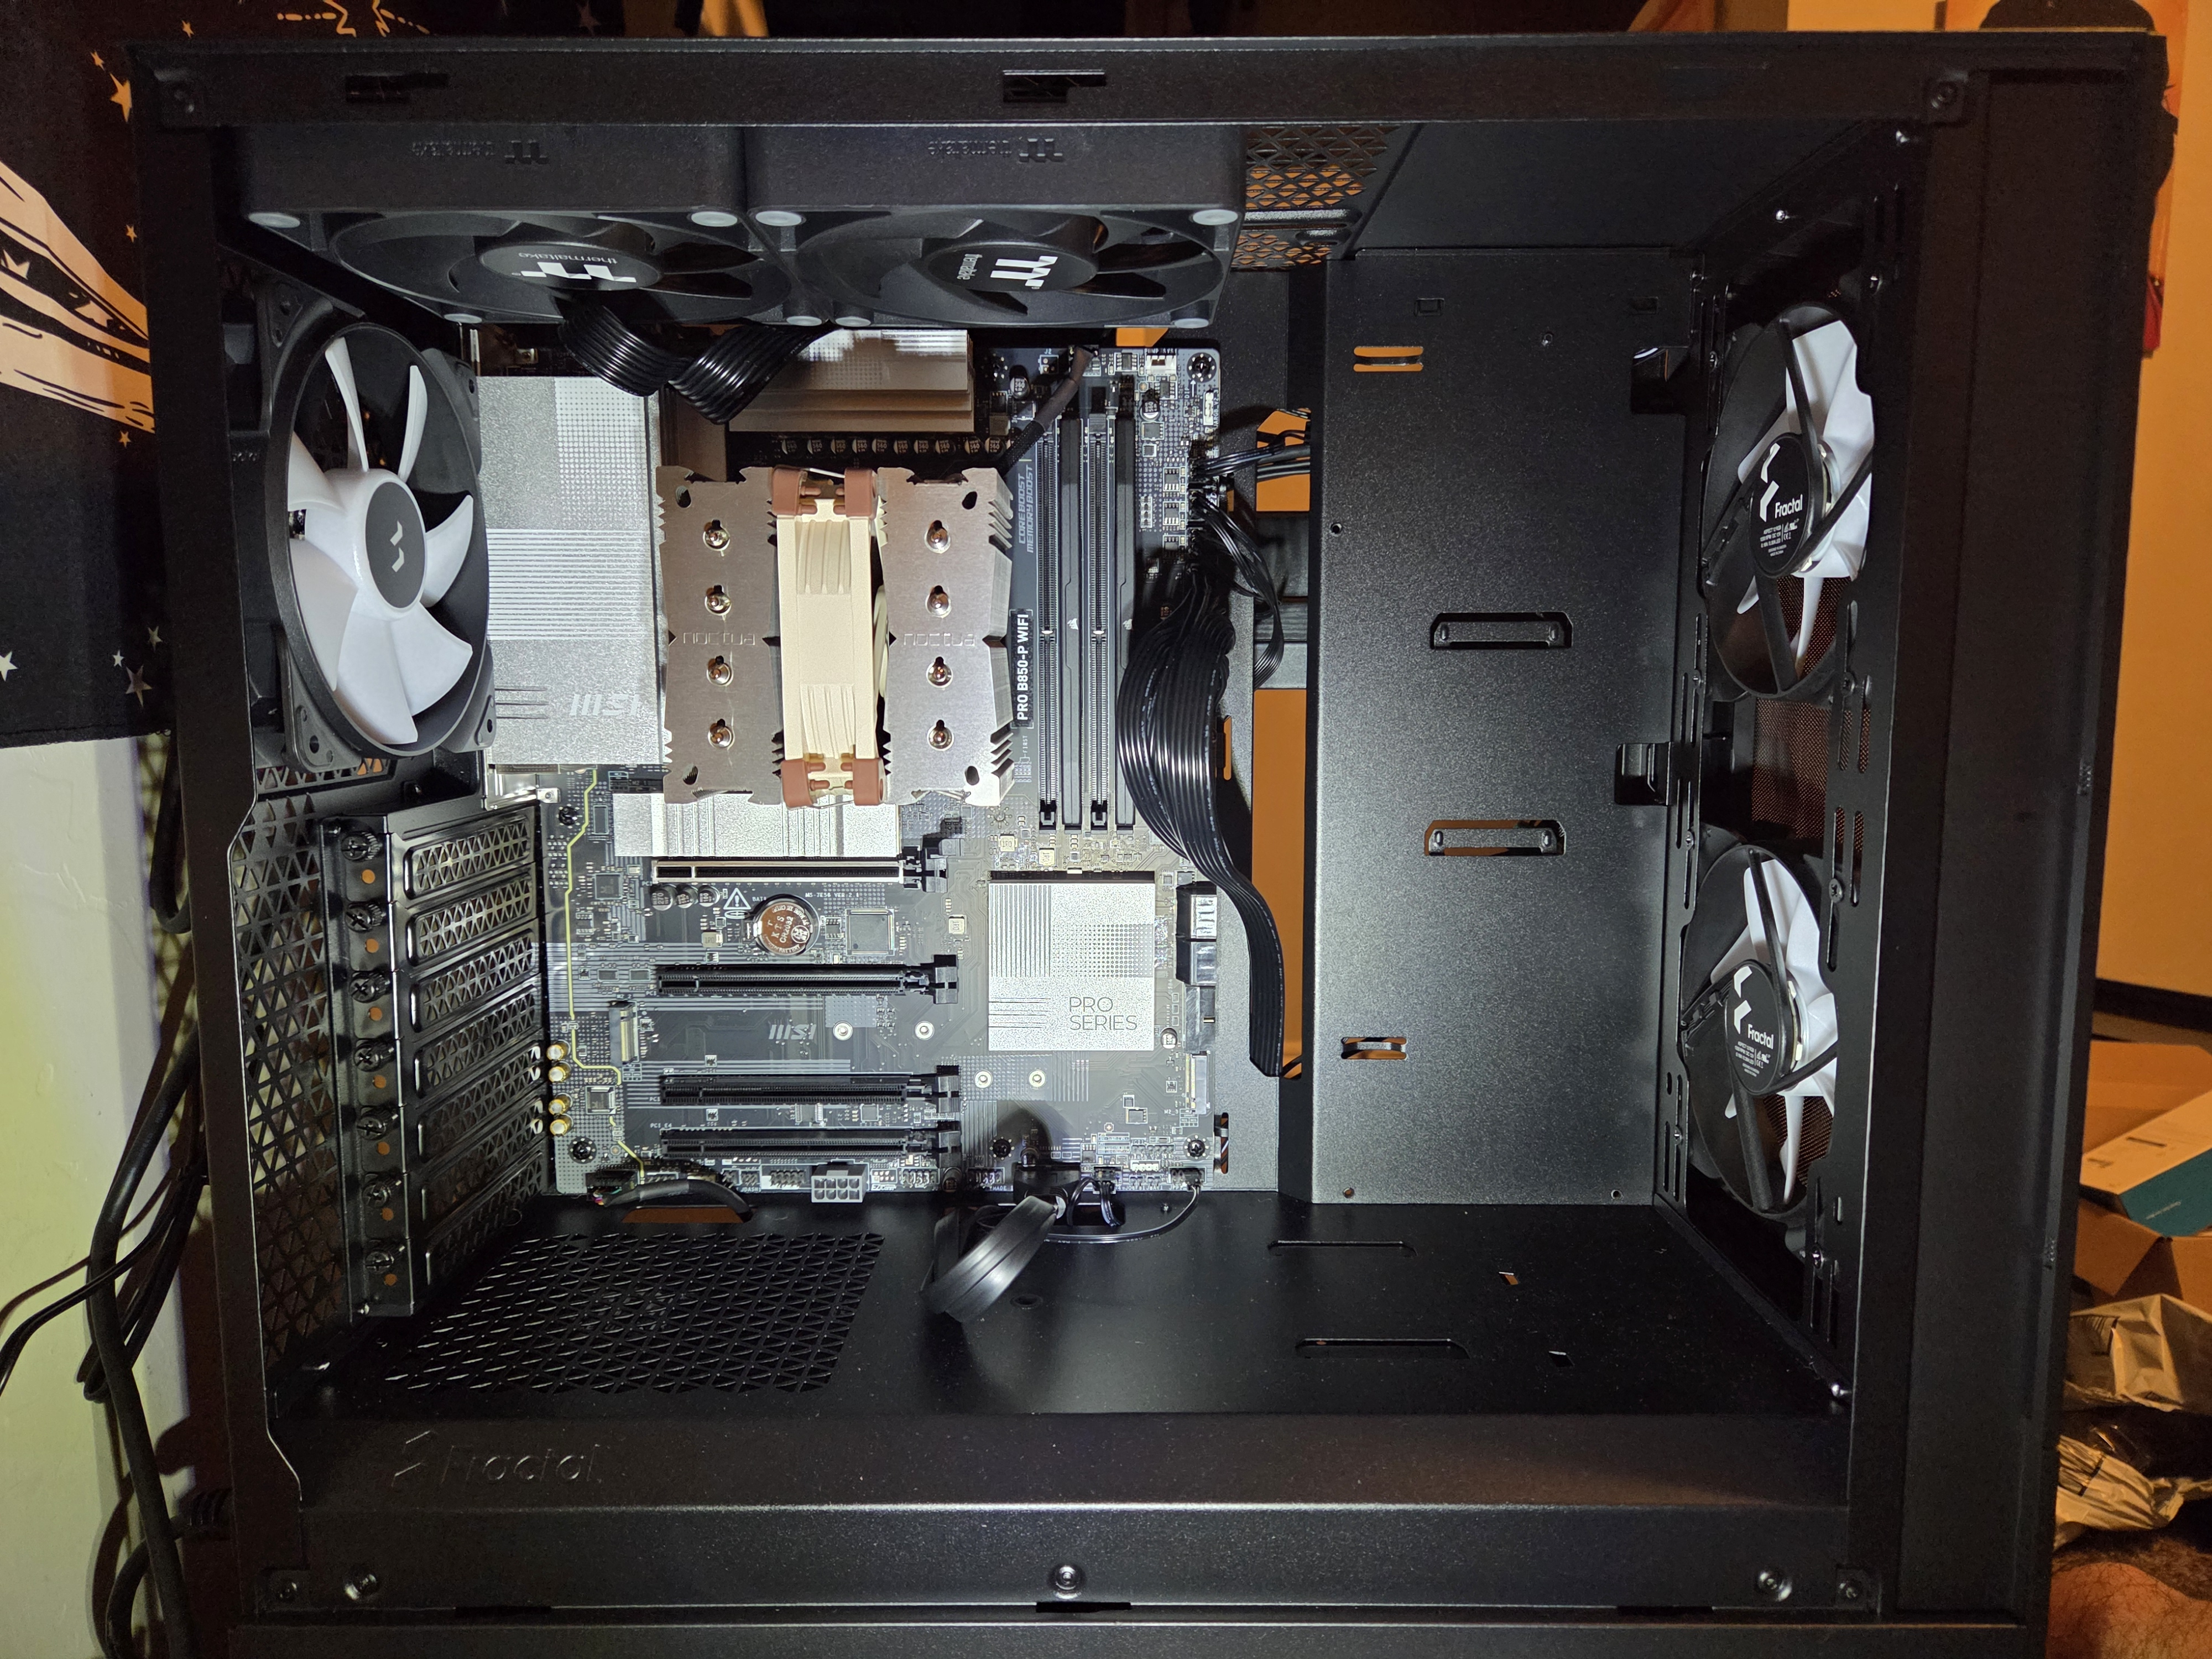
Having built up substantial savings through frugality (shoutout to ‘The Millionaire Next Door’), I had around $1k to work with for the build. I opted for 64GB of RAM (overkill, I know), a motherboard with built-in Wi-Fi since I don’t have Ethernet access at my desk, and a 2TB NVMe SSD with plenty of room for future upgrades (I’m considering a RAID configuration instead of my current snapshots and restic cloud backups). I also picked up a GT 1030 to drive my second monitor, which is more than enough since I don’t game or do visually intensive work. The Fractal case came with RGB fans, and while I’m not usually a fan of RGB, my kid absolutely loves cycling through the colors on the built-in controller.
Dual Boot
I had to ensure I had access to either Windows or macOS (Hackintosh) for Respondus’s LockDown Browser, as I still had pending school exams that required proctoring. Coupled with proctoring from Pearson VUE for CompTIA exams and potential future SANS/GIAC exams, I needed to have at least one other supported operating system, even though I prefer Linux for its efficiency and customizability. I installed one of the latest Windows Home versions. I purchased a discounted key from nerdused.com for approximately $9.99, rather than the full retail price of $139.99 (cause that price difference is straight crazy). You can literally buy several older Raspberry Pis or two newer models with that money saved.
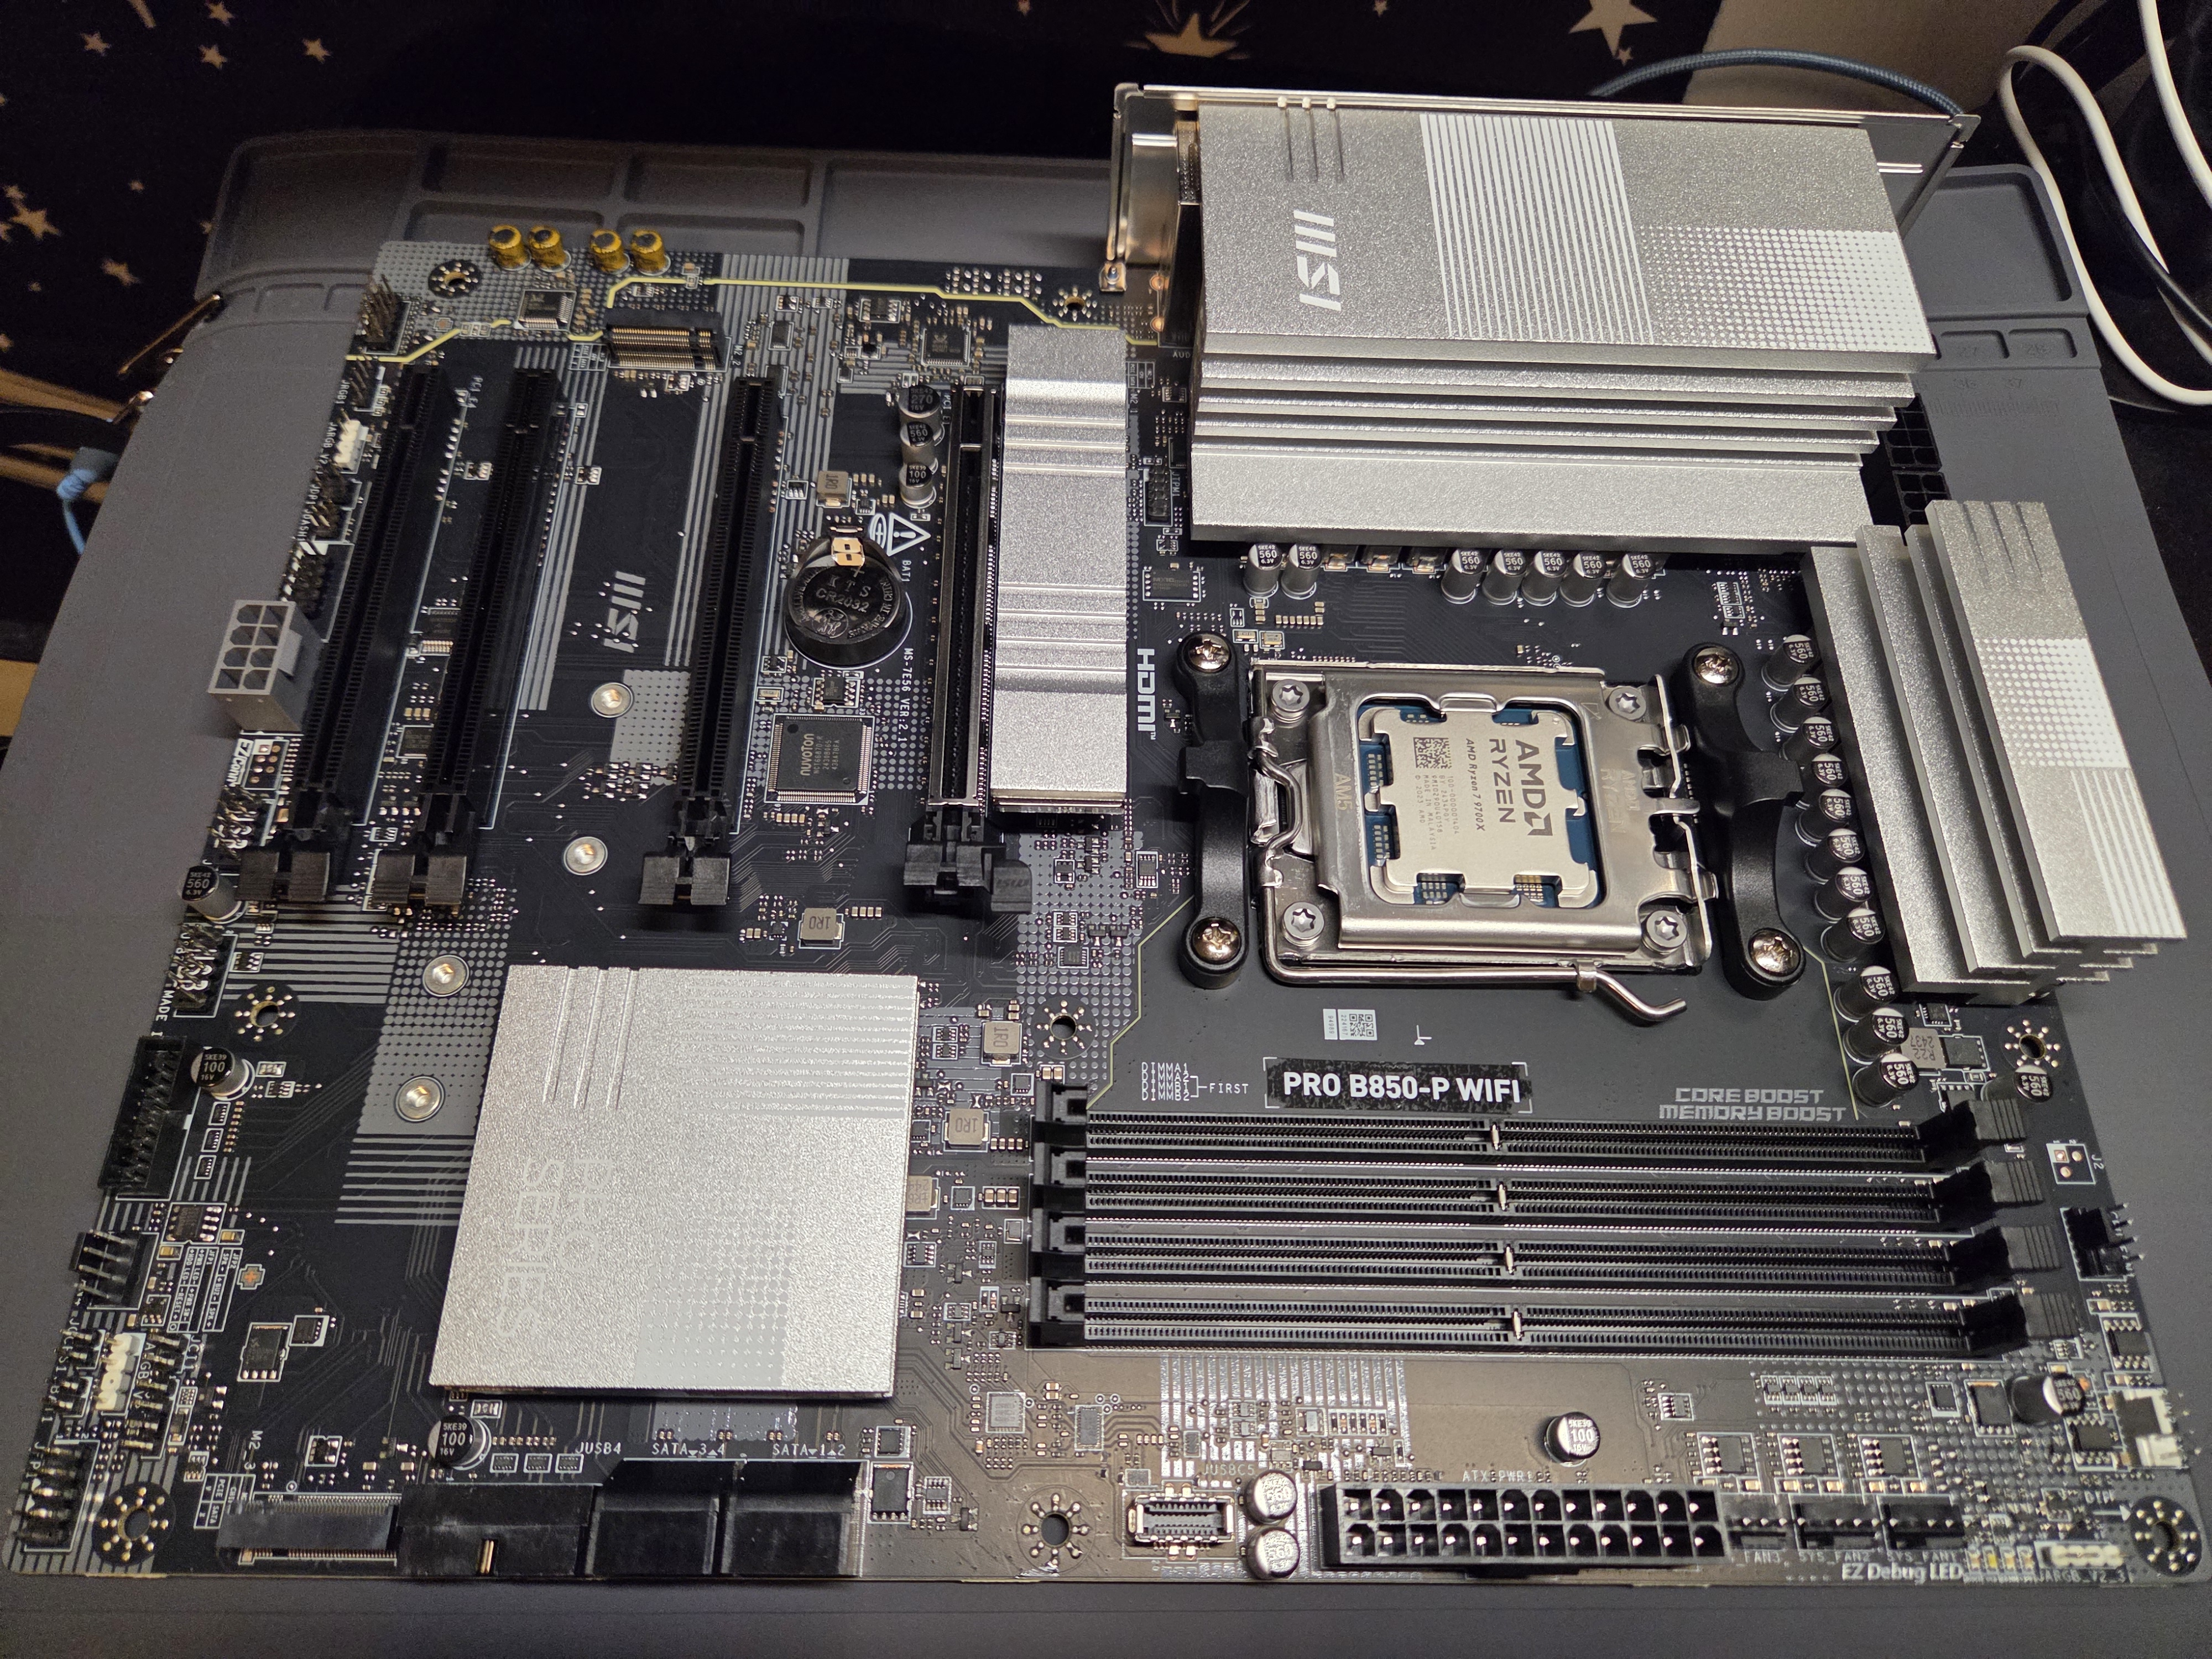
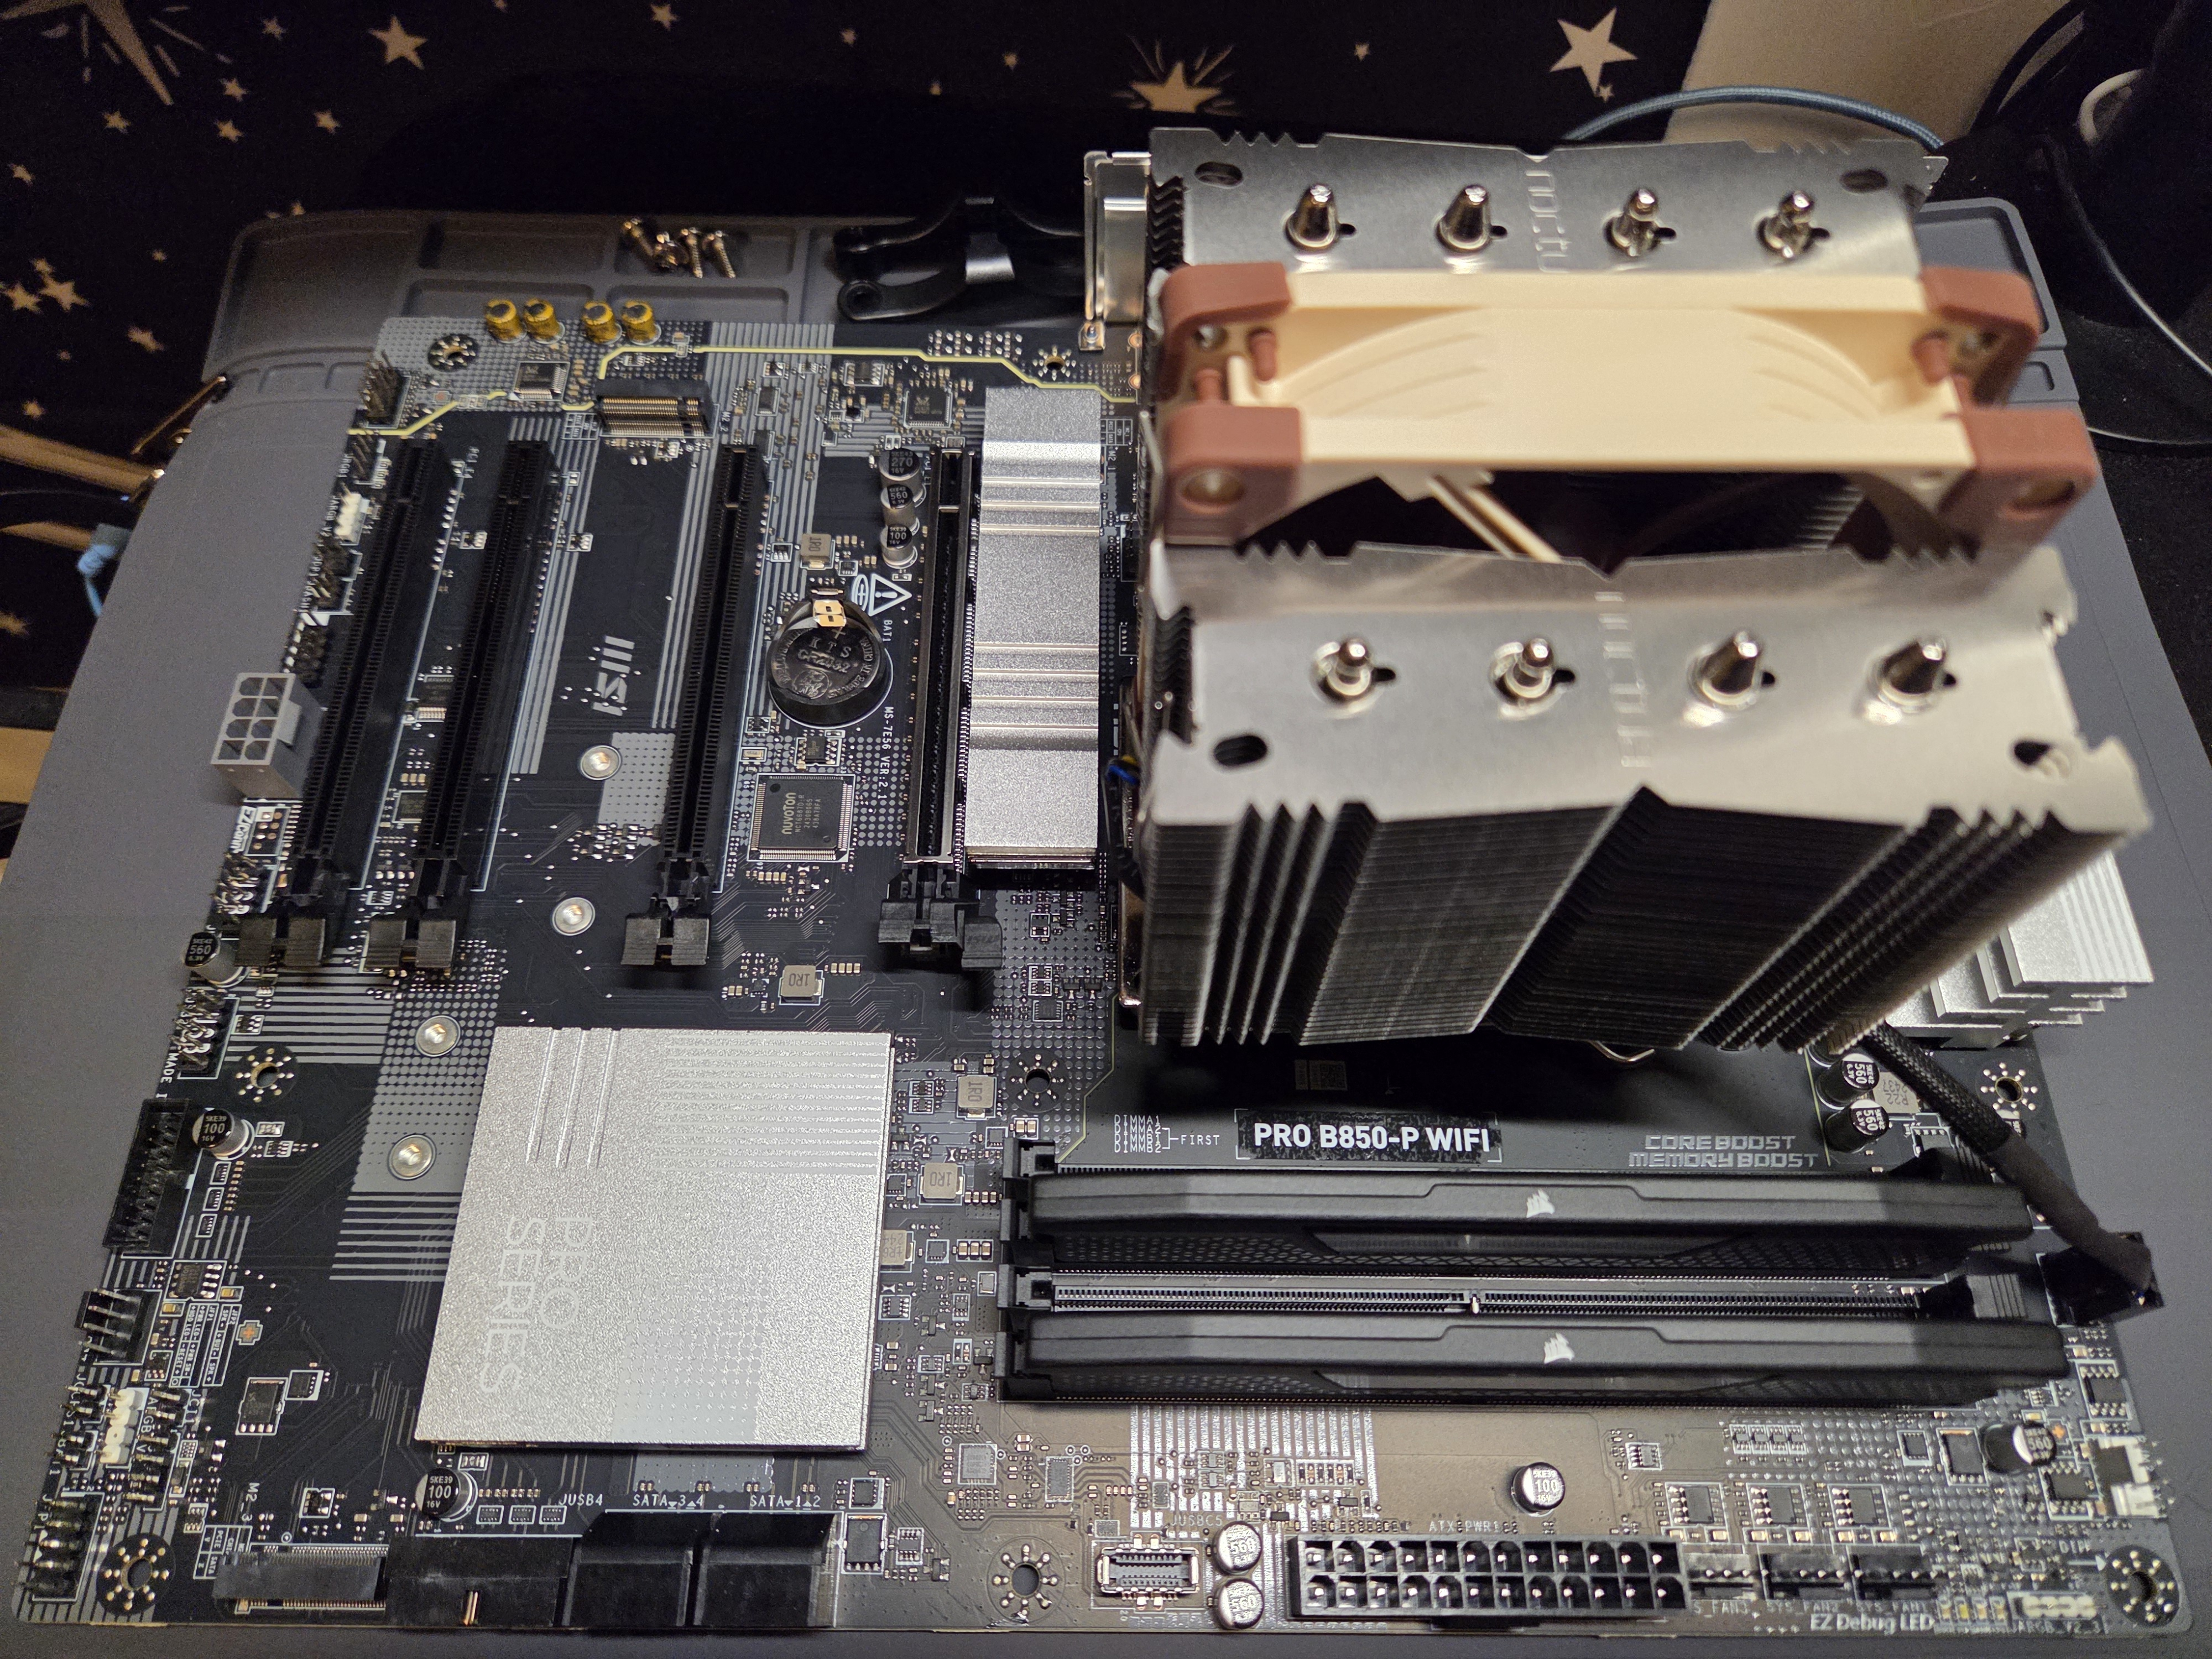
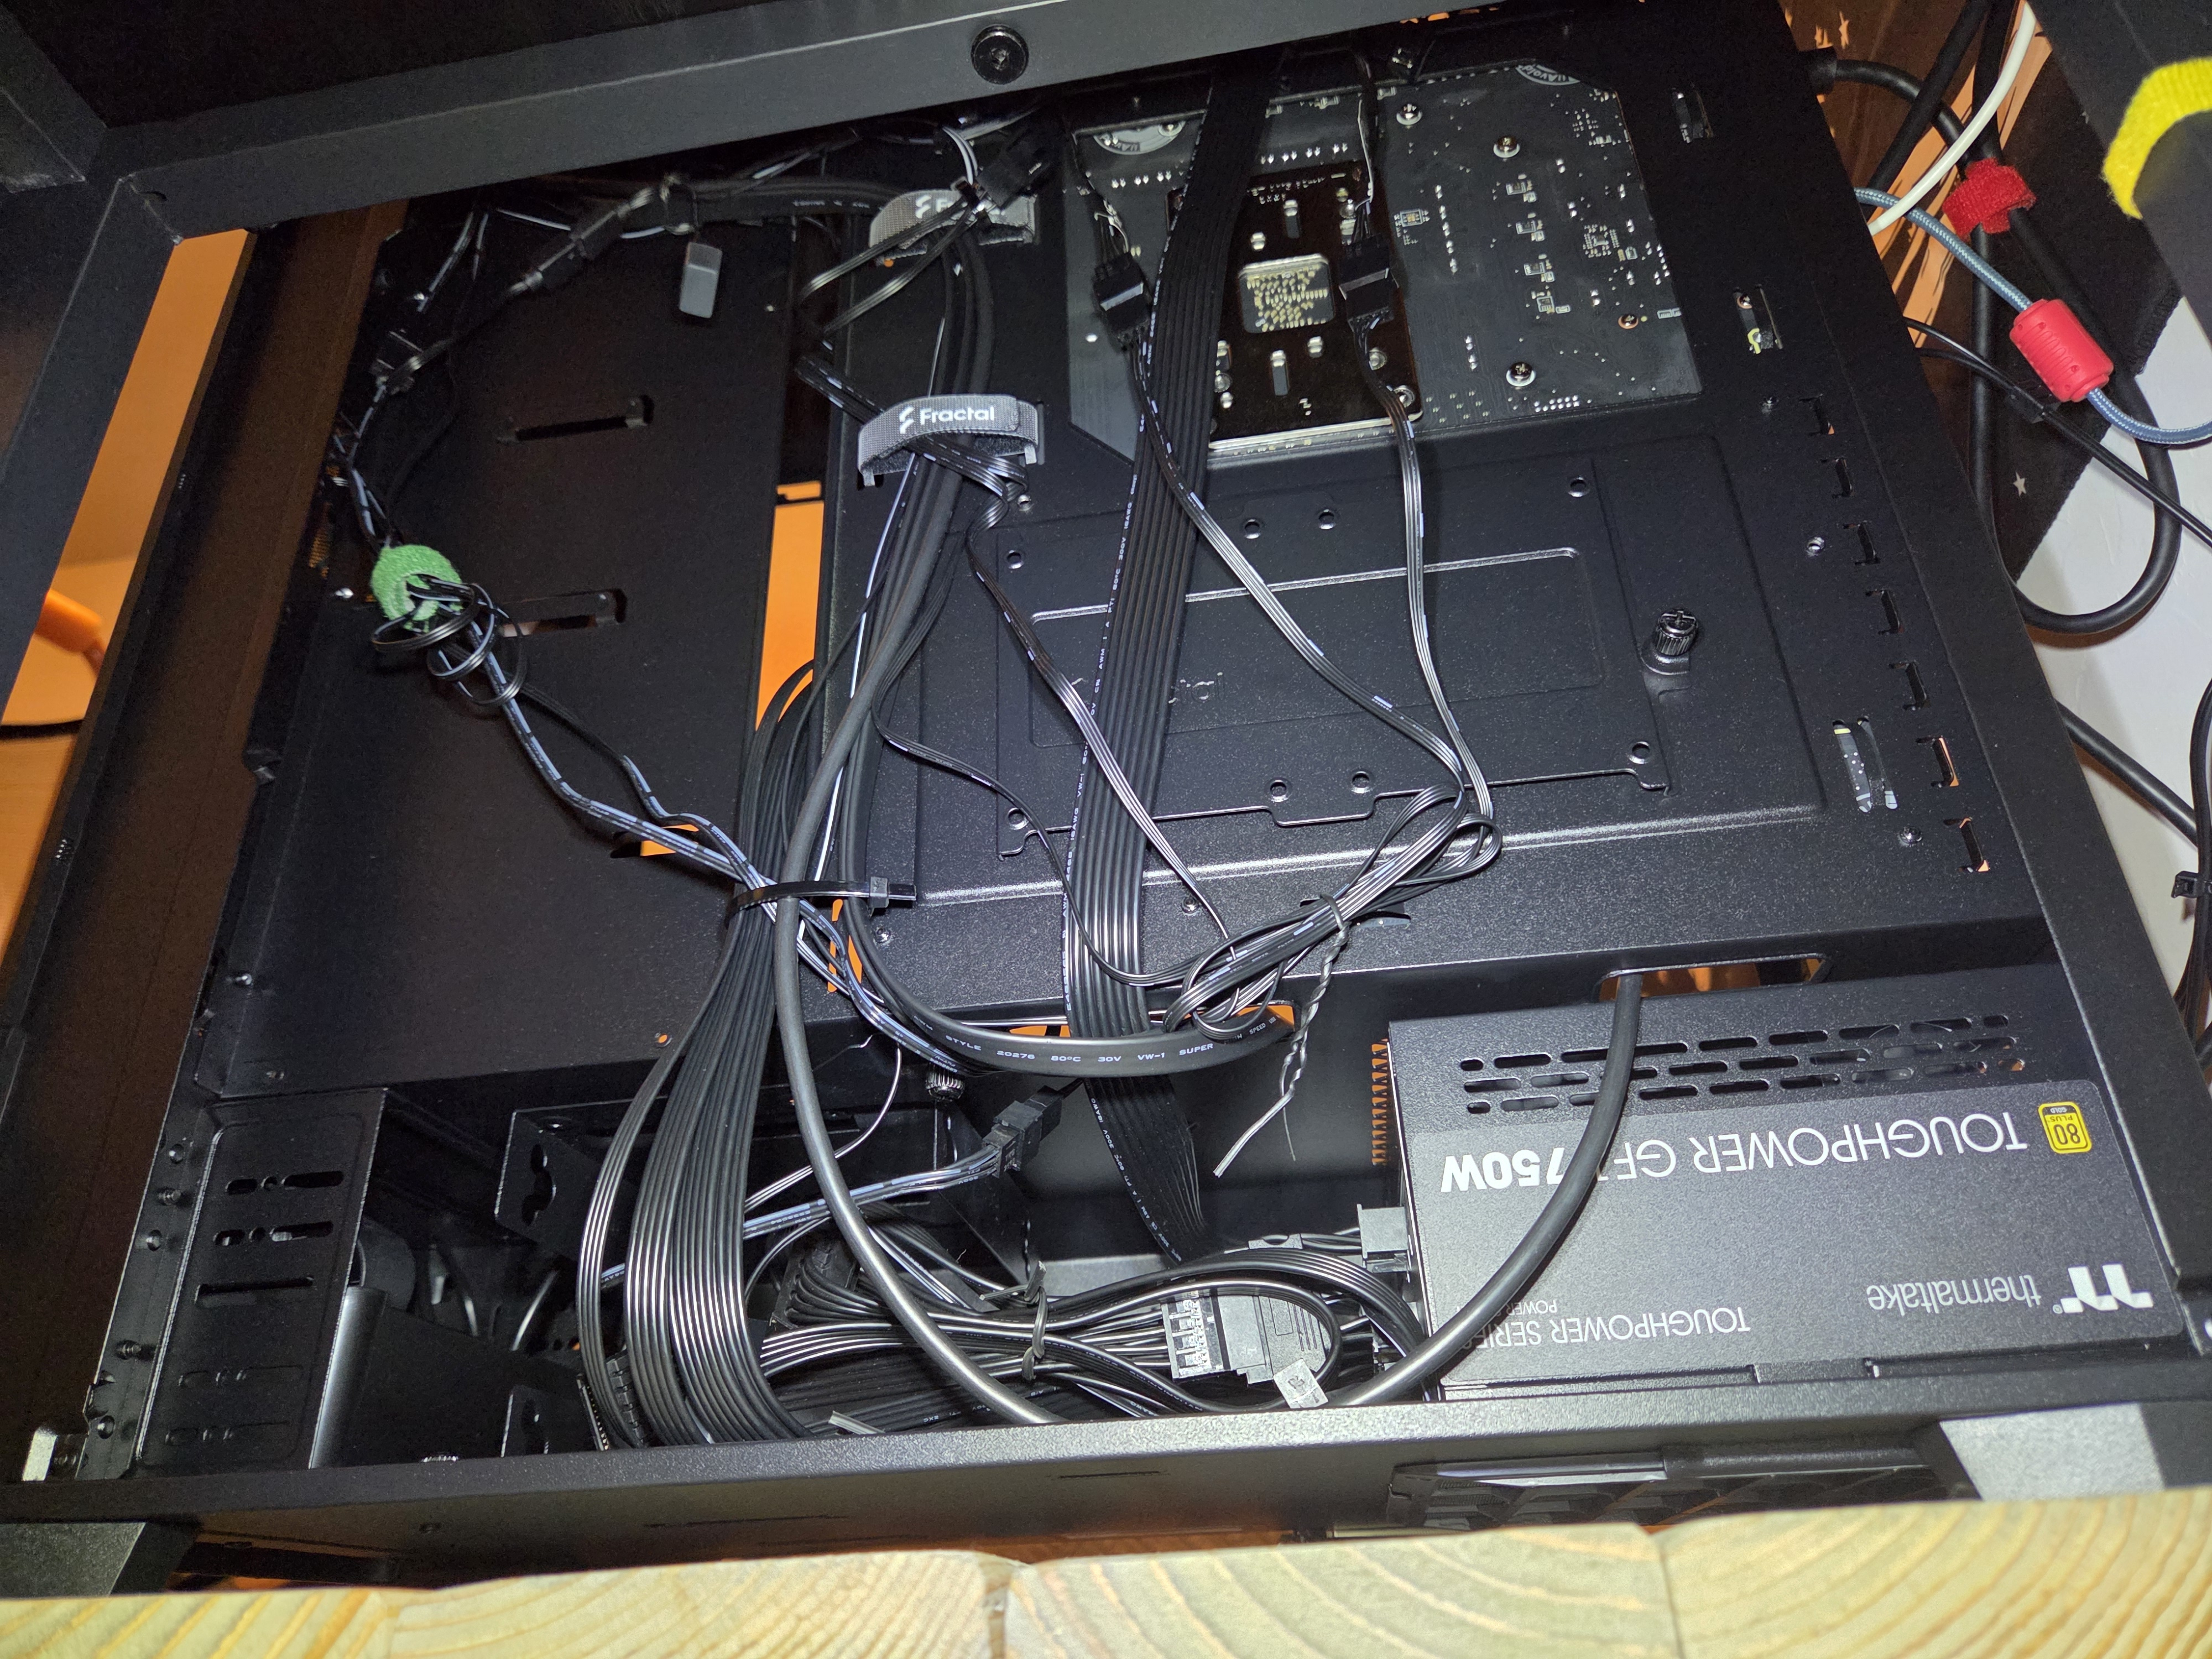
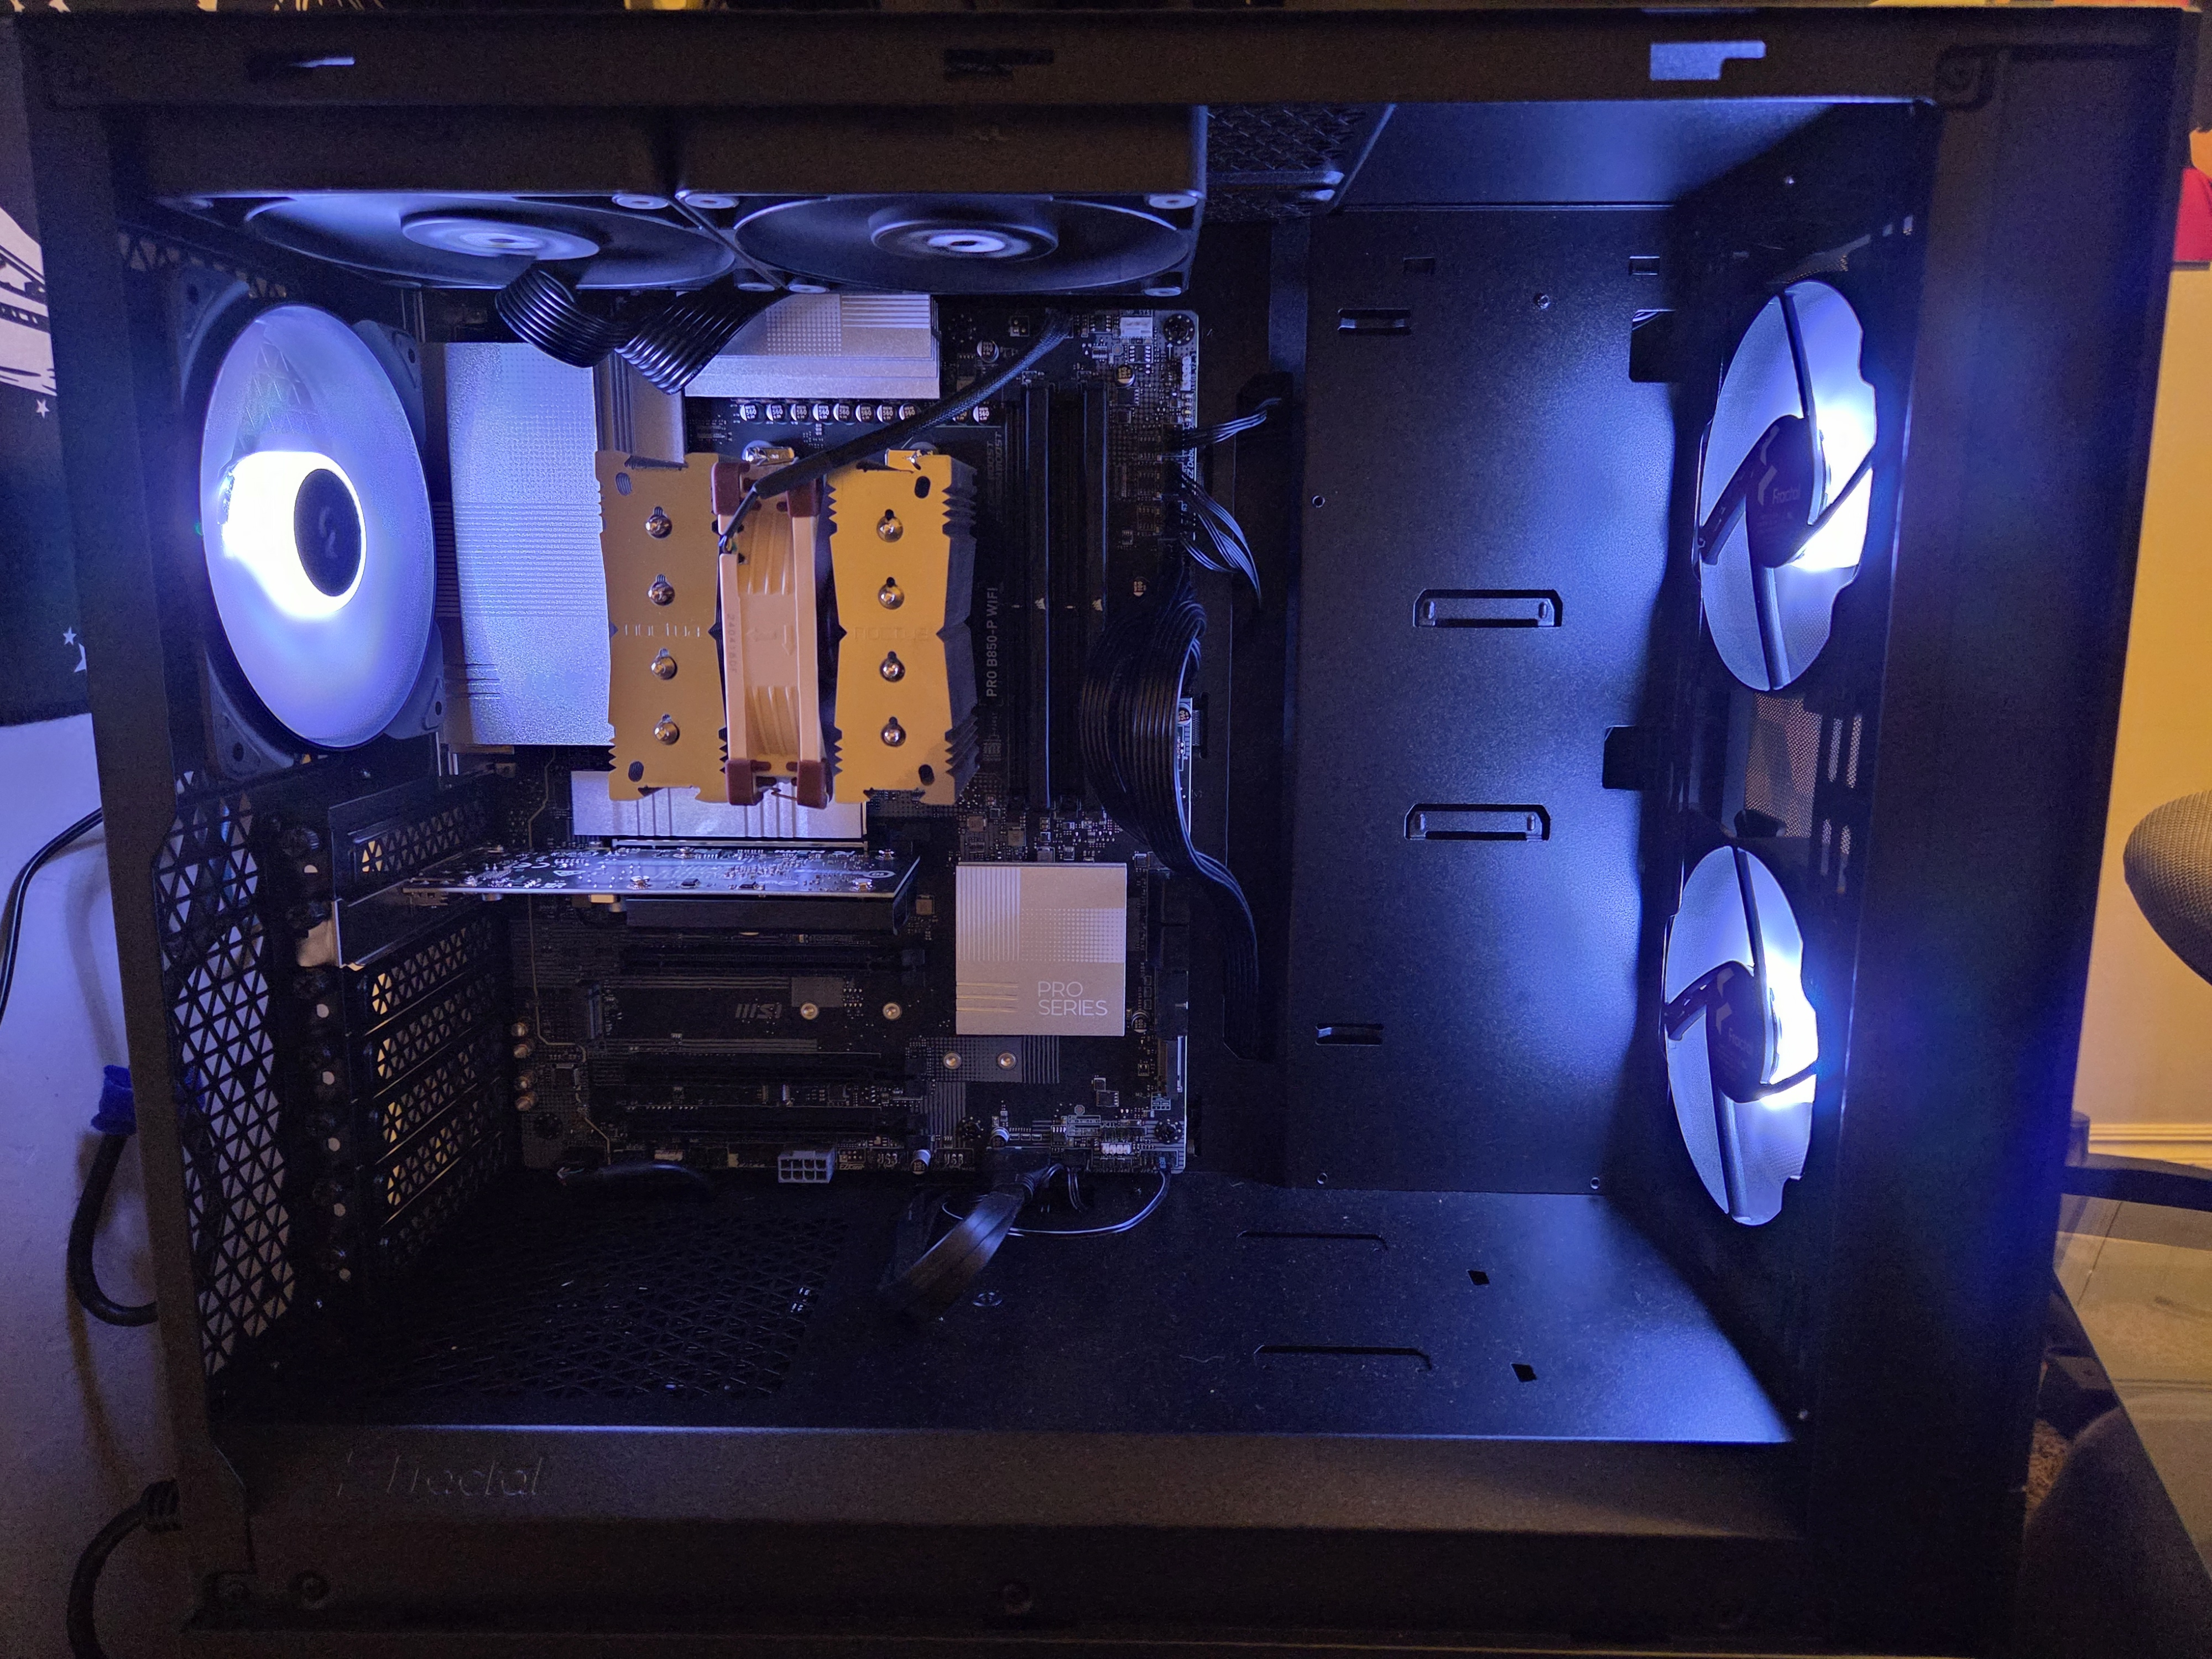
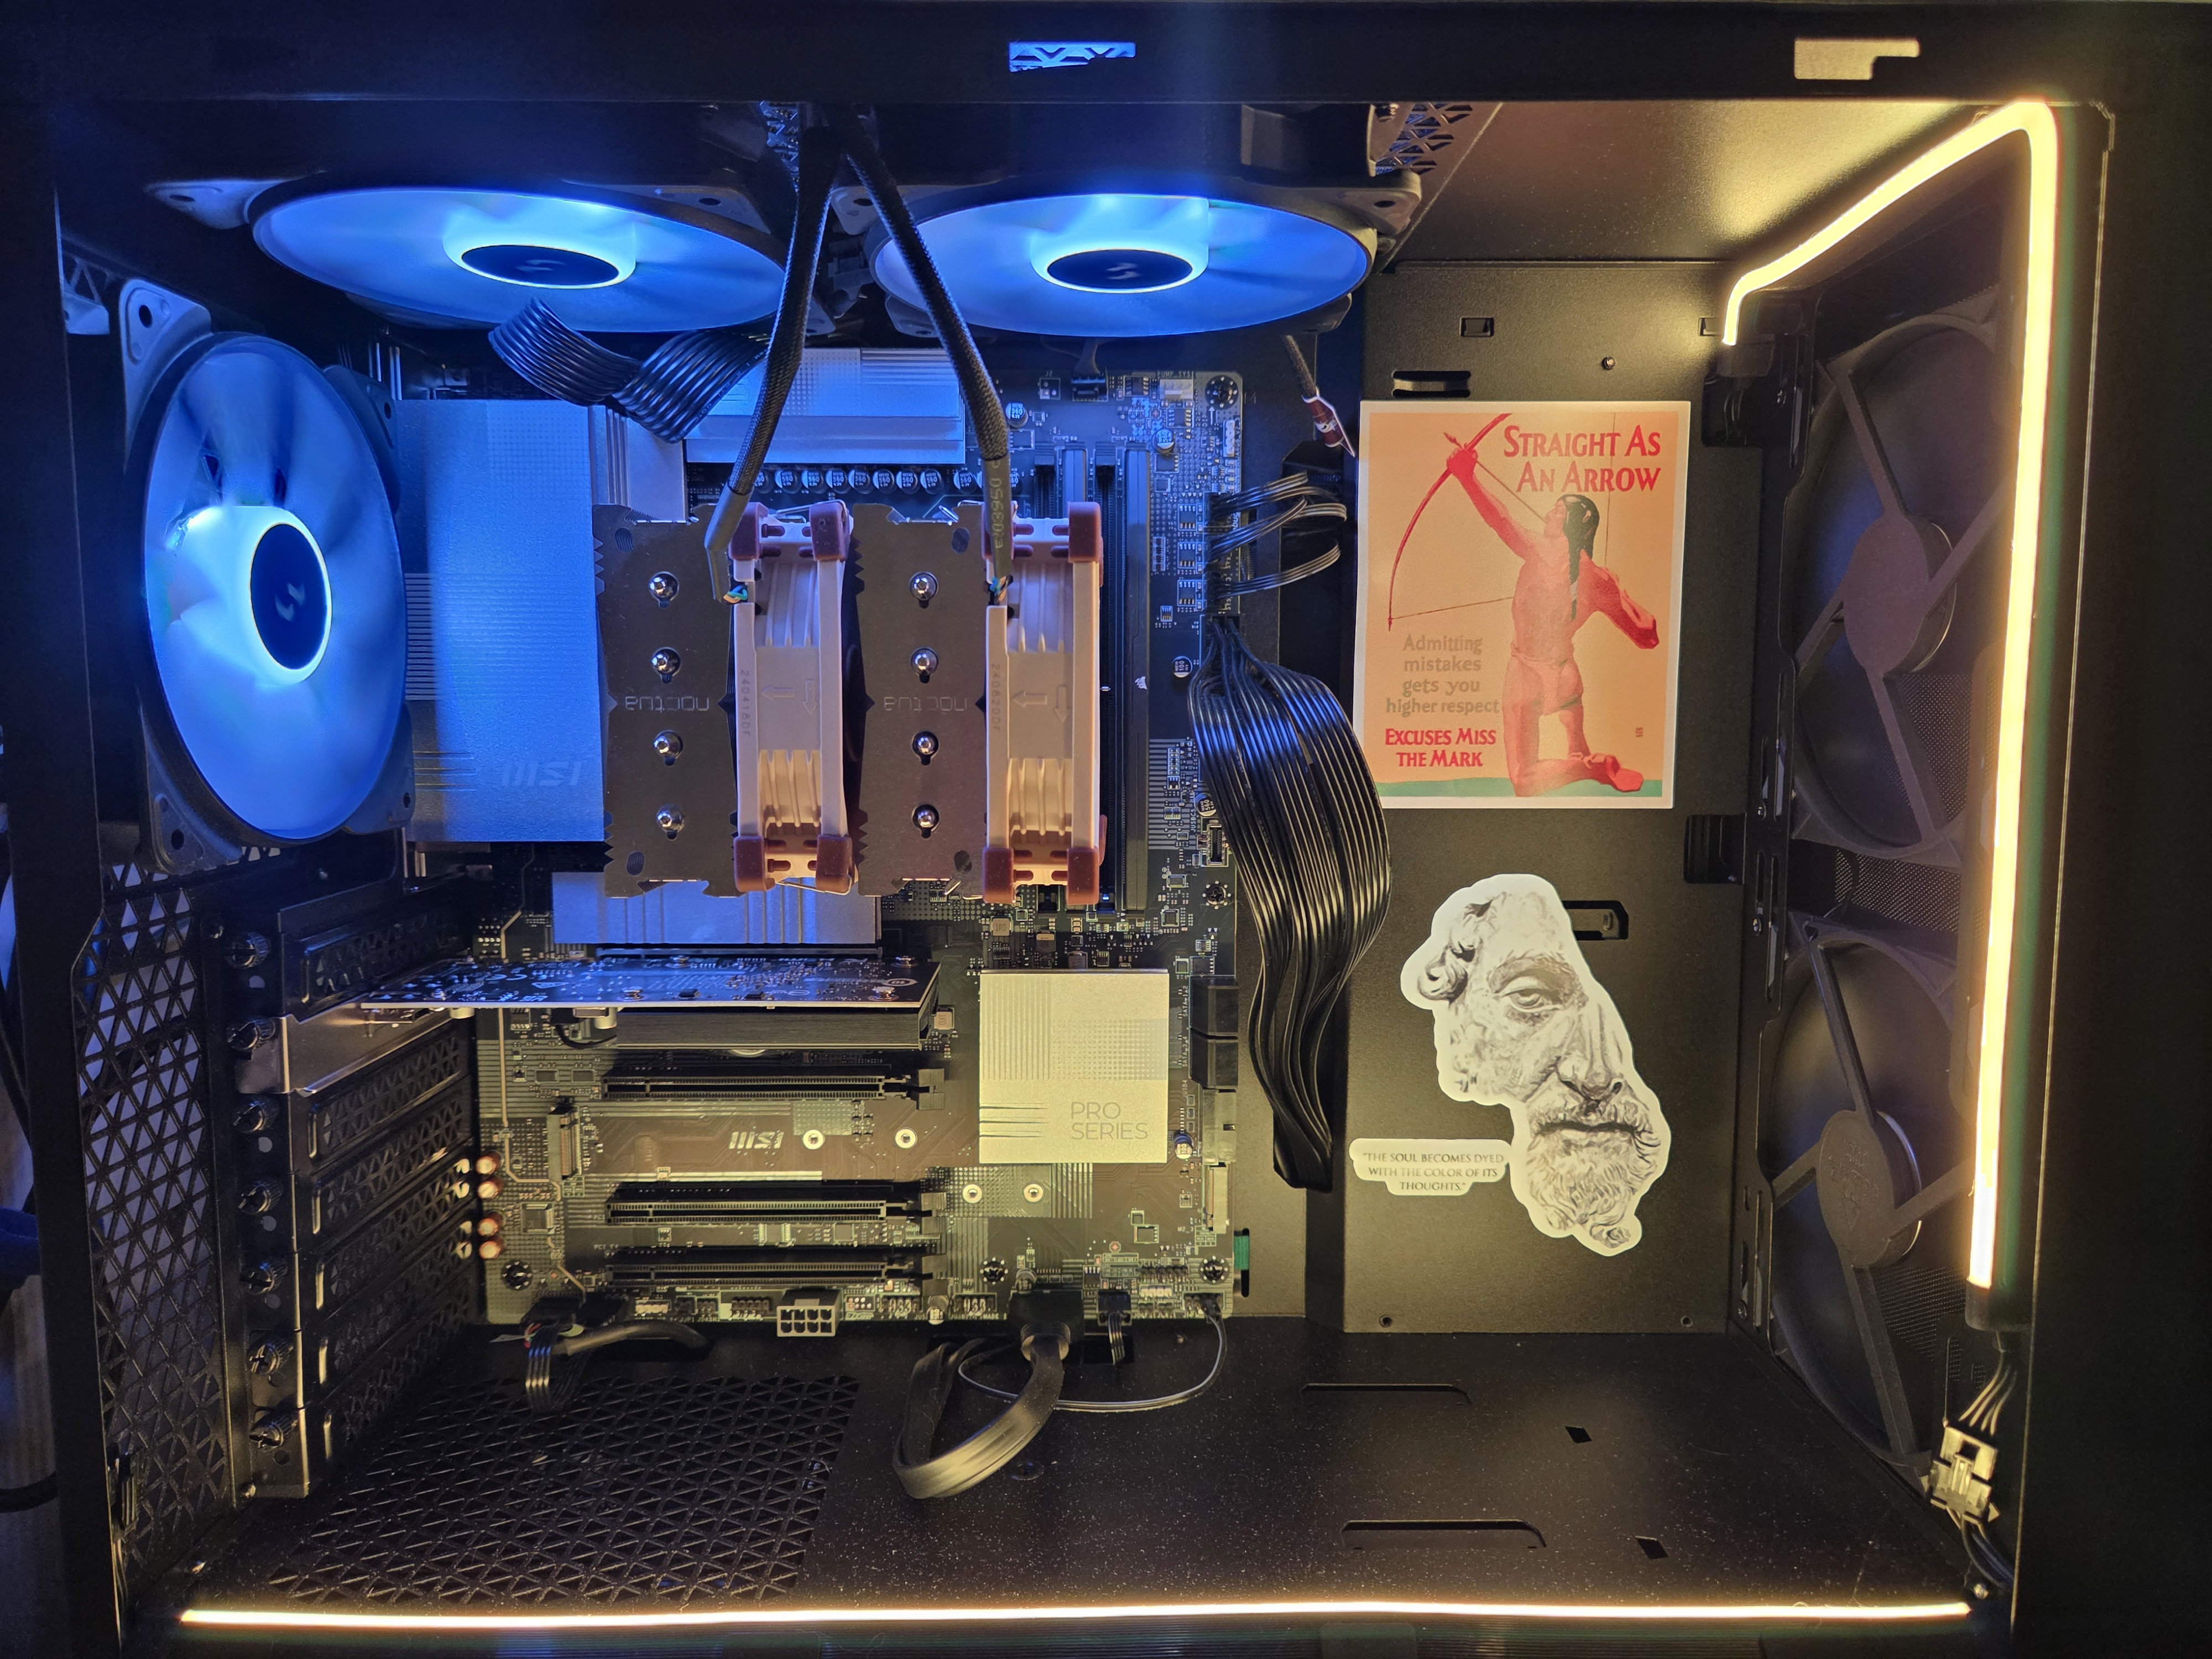
Putting it Together
The scariest part of putting it together was certainly latching down the CPU for the first time (It required more force than I expected; people online weren’t exaggerating). I’m accustomed to handling sensitive and expensive electronics from my background in avionics. Still, I had never before had the fear of damaging something that came out of my own budget (CPUs aren’t cheap, lol). Other than that, I replaced the original intake 120 mm RGB case fans, which came with the tower, with 140 mm front intake fans. So, I’ve got three 120 mm exhaust fans and two 140 mm intake fans, excluding the two fans on the CPU cooler. The current case configuration features positive pressure, indicating a greater intake volume than exhaust. This should increase the time between internal cleanings due to dust buildup and aid in performance by expelling more hot air instead of retaining it. I currently have it all connected to a hefty surge protector. However, I’m debating investing in a UPS if I ever work on any critical projects from home.